Movie poster time!

Hey guys,

after working on it for a while I am finally able to let your have a look at my latest project.

My friend Steven, is a talented writer and asked me to shoot him (he is also a pretty handsome and muscular dude) as a gladiator.

I'll post soon a video explaining how i put the whole thing together because I think it could be interesting to share the story, but in the meantime here is the final result (as usual click on it to see it full screen)


Let me know your thoughts, I would really like to see this one in theathers some day ;)


Jeremy

The best way to take care of devil pet eyes (with photoshop)

Hey guys,

I posted a picture of our little foster dog the other day when she got adopted.

I was in a rush so my wife and I took it with our smartphone and it looked like this

after doing a bit of research on how to fix these diabolic eyes, I found that most tutorials and even the red eye fixing tools simply paint the pupils black and add a catch light with a white paint brush, that would make it look like this:

pet-eye-03.jpg

I thought that it really did not look good and decided to come up with a better way to fix it.

It's actually pretty easy to do, provided you know your way around photoshop a little.

I opened my original photo in PS, then found a picture of dogs eyes on google, I used this one:

I simply searched "dog eyes" on google and found a picture that matched Marble's (that's our dogs name) eyes and furr but you can also simply take a real picture of your dogs eyes without flash to make it work.

I then opened this eyes picture as a layer on top of my original image.

I used the lasso tool to select one eye, used refine edge to add some smoothing and feathering to the selection of the eye.

Then I placed this selection on its own layer by pressing Ctrl+J. After that I positioned, rotated and streched the eye to be on top of the devil eye.

I lowered the opacity of the layer to about 80%.

The final touch to sell the effect is to add a slight blur (1px) to the layer to match the picture below it... et voila!

Now the eyes look much more realistic!

Total time 5 min. So next time you have to fix some crazy devil eyes, think about using othr pictures of nice eyes to lay on top of it.

Jeremy

The other way to remove tourists from your shots

Hey guys,

As promised here is the other way (actually one other way there are others) to removed undesired tourists from your vacation shots.

For that you are going to have to use a bit of photoshop.

I am not going to go to much into the details as you can learn more about it here (the video is very interesting but if you want to see just the part about tourist removal you can jump to 49 min)

But the idea is to take a series of shot without moving, waiting for tourists to move like this

Then open the photos as layers in photoshop (meaning they are on top of each other), auto align them and then mask away the tourists using the clean portions of each layer.

In the end you get something like this:

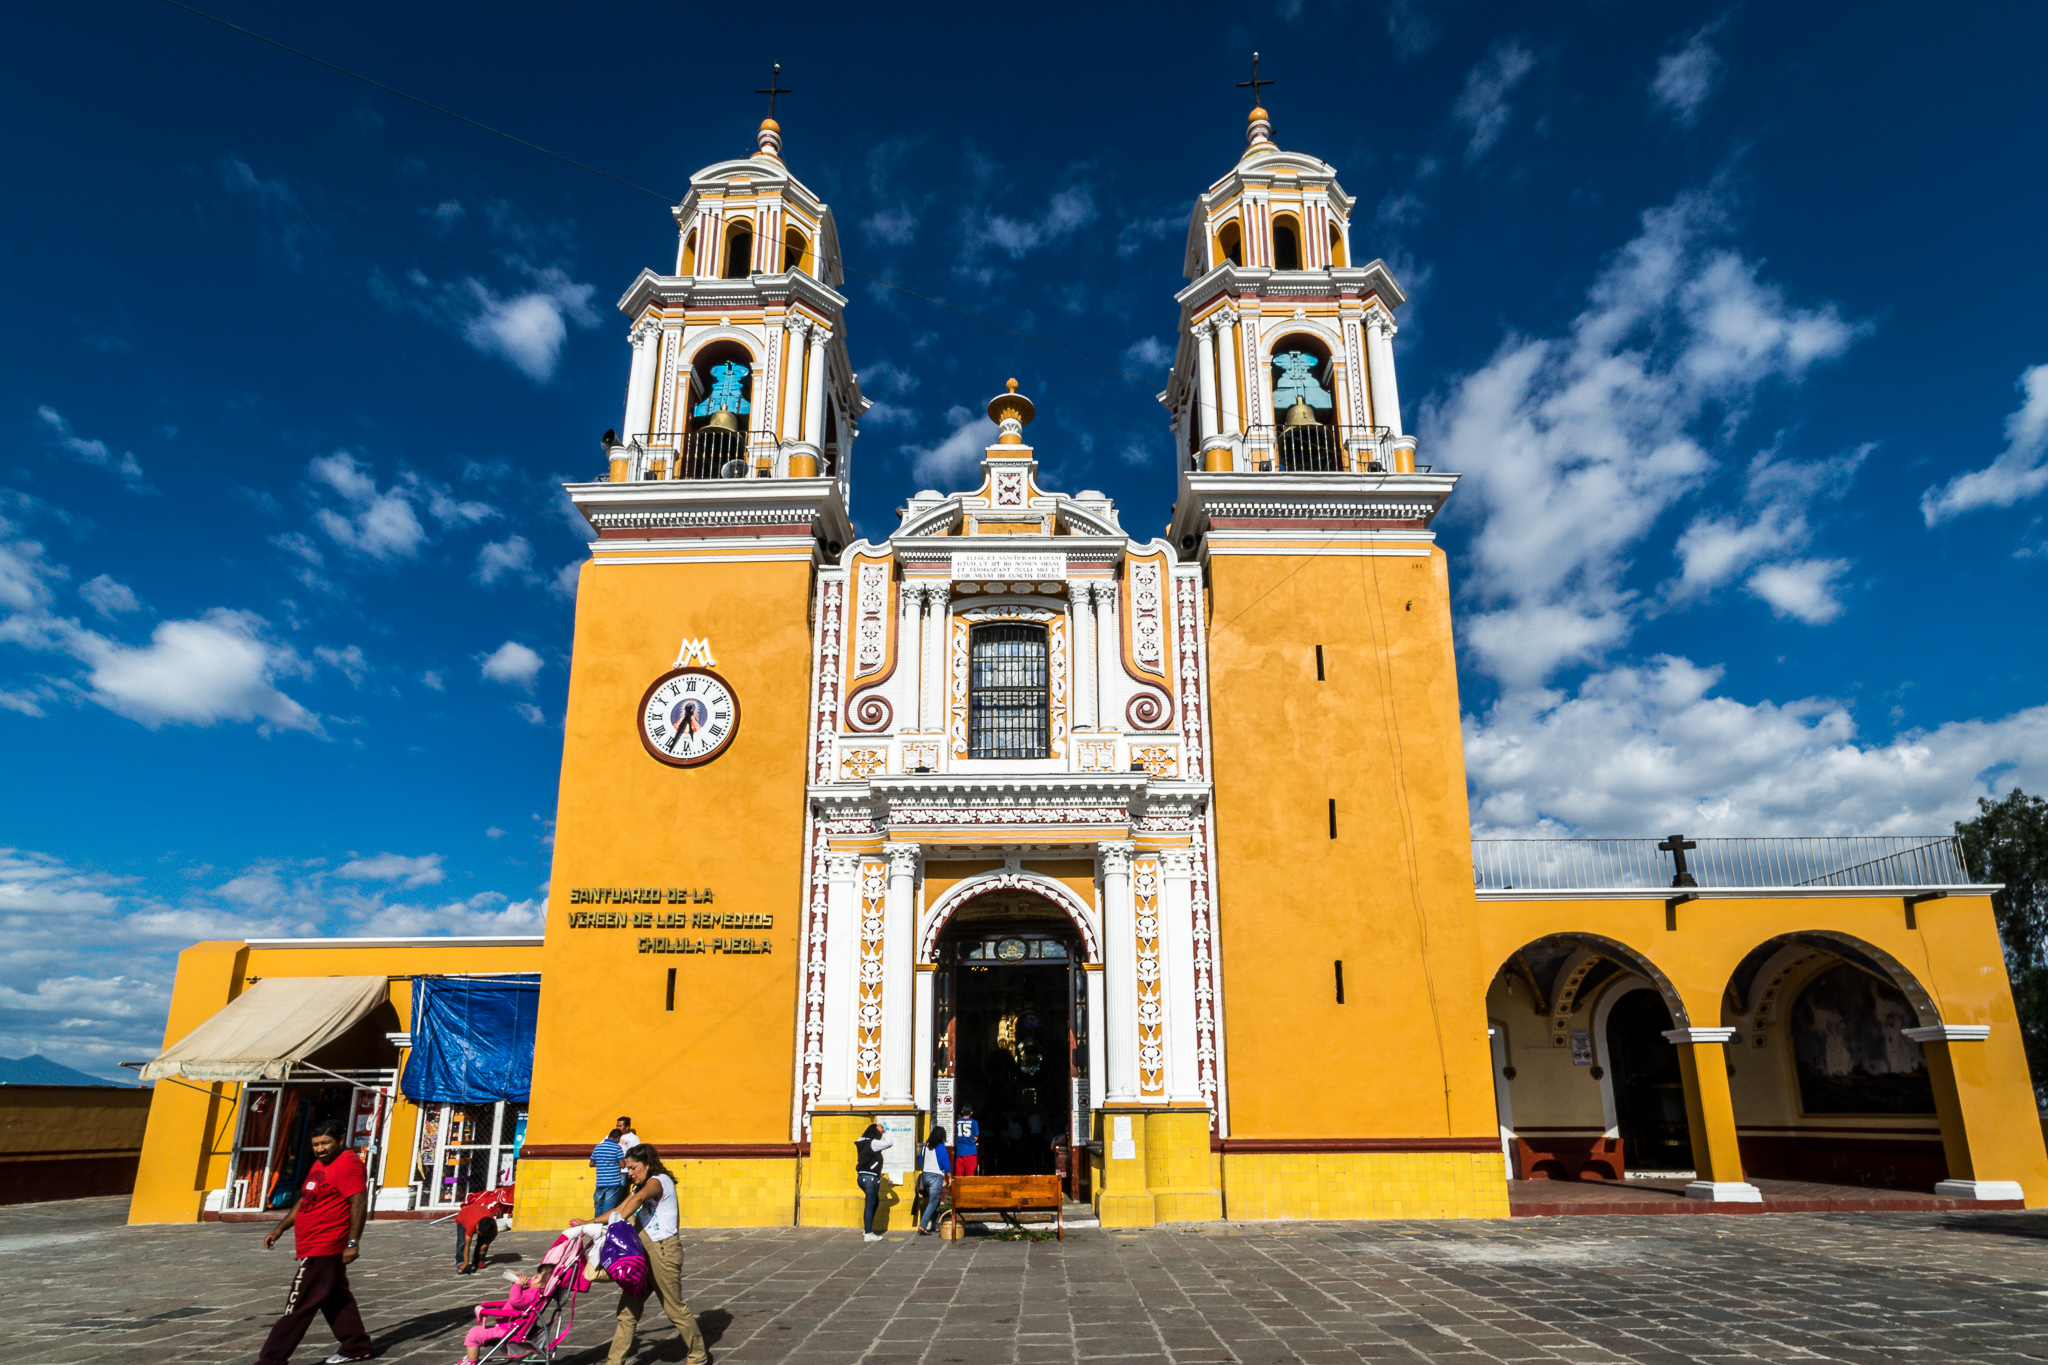
Mexique Juin 2014_004.jpg


The secret to this is simple, the more you wait the easier your job will be.

So next time you are on vacation somewhere, be patient and take multiple shots of places ! You'll end up with the perfect "tourist free" shot!

Jeremy